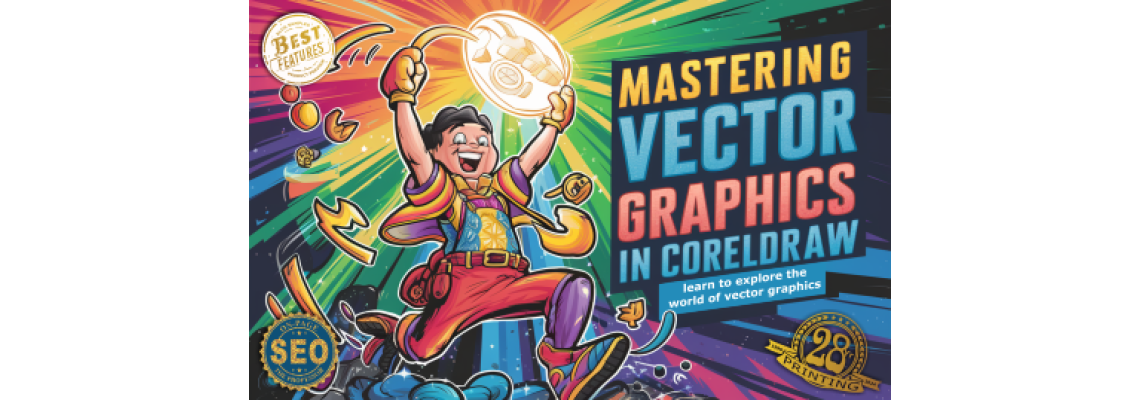
Vector graphics play a crucial role in the world of digital design,
offering unparalleled scalability and precision. Unlike raster graphics, which are made up of pixels, vector graphics are composed of paths defined by mathematical equations. This distinction makes vector graphics the preferred choice for logos, illustrations, and any artwork that needs to be scaled without losing quality. CorelDRAW, a powerful graphic design software, is designed specifically for working with vector graphics, providing a robust set of tools and features to help you create stunning designs. In this article, we’ll explore the essentials of vector graphics in CorelDRAW, the key tools you’ll need, and tips for achieving precision and efficiency in your designs.Understanding Vector vs. Raster Graphics
Before diving into the tools and techniques, it’s essential to understand the difference between vector and raster graphics:
Vector Graphics: These are made up of paths, which are defined by a start and end point, along with other points, curves, and angles along the way. This allows for infinite scalability without loss of quality. Vector graphics are ideal for logos, icons, and any design that requires precise lines and shapes.
Raster Graphics: These are composed of pixels, which are tiny squares of color that make up an image. When you enlarge a raster image, it becomes pixelated and loses clarity. Raster graphics are best suited for photographs and complex images with intricate color variations.
Key Tools for Creating and Editing Vector Shapes in CorelDRAW
CorelDRAW offers a comprehensive suite of tools designed to help you create and manipulate vector shapes with ease. Here are some of the key tools you’ll frequently use:
Pen Tool: The Pen tool is fundamental for drawing precise paths. It allows you to create straight lines, curves, and complex shapes by placing anchor points and adjusting their positions and curves.
Shape Tool: This tool is essential for refining your paths. You can use it to adjust nodes, curves, and segments, giving you complete control over your shapes.
Bezier Tool: Similar to the Pen tool, the Bezier tool offers more control over curves and is ideal for creating smooth, flowing lines.
Ellipse and Rectangle Tools: These tools allow you to quickly create basic shapes. Holding down the Ctrl key while drawing will constrain the shapes to perfect circles and squares.
Smart Fill Tool: This tool enables you to fill enclosed areas created by multiple objects, making it easy to apply colors and gradients to complex shapes.
Interactive Blend Tool: Use this tool to create smooth transitions between objects, which is particularly useful for creating complex gradients and dynamic designs.
Tips for Precision and Efficiency in Vector Design
Creating vector graphics with precision and efficiency requires mastering a few key techniques. Here are some tips to help you get the most out of CorelDRAW:
Use Guidelines and Grids: Set up guidelines and grids to help you align objects precisely. You can customize the spacing and appearance of grids to suit your needs.
Snap to Objects: Enable snapping to ensure your shapes and paths align perfectly with other objects in your design. This feature helps you maintain consistency and accuracy.
Layer Management: Organize your work by using layers. Layers allow you to separate different elements of your design, making it easier to edit and manage complex projects.
Keyboard Shortcuts: Familiarize yourself with CorelDRAW’s keyboard shortcuts to speed up your workflow. For example, pressing F10 switches to the Shape tool, while F6 activates the Rectangle tool.
Nudge and Micro-Nudge: Use the arrow keys to nudge objects into place. Holding down the Shift key while nudging enables micro-nudging for even finer adjustments.
Master the PowerClip: The PowerClip feature allows you to place one object inside another. This is especially useful for creating intricate designs and ensuring elements fit perfectly within shapes.
Take Advantage of Templates: CorelDRAW offers a variety of templates to jumpstart your projects. Customize these templates to fit your design needs, saving time and effort.
Regularly Save and Backup: To avoid losing your work, save your project regularly and create backups. CorelDRAW’s auto-backup feature can also be a lifesaver.
By understanding the differences between vector and raster graphics, utilizing CorelDRAW’s powerful tools, and applying these tips for precision and efficiency, you’ll be well on your way to mastering vector graphics. Whether you’re creating logos, illustrations, or complex designs, CorelDRAW provides the features and flexibility you need to bring your creative vision to life.
Feel free to reach out if you have any questions or need further assistance with CorelDRAW or your artwork projects.


Leave a Comment