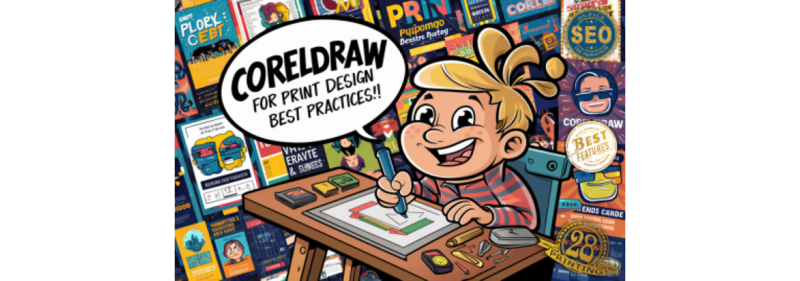
In the realm of print design, CorelDRAW stands out as a powerful tool,
offering a versatile platform for creating everything from business cards to brochures. However, to maximize its potential, it’s essential to follow best practices for preparing files, managing colors, and setting resolutions. This guide will walk you through these critical steps, ensuring your designs are print-ready and of the highest quality.Preparing Files for Printing
Proper file preparation is the cornerstone of successful print design. Here’s a step-by-step guide to ensure your files are ready for the press:
Set Up Your Document Correctly:
- Begin by setting the correct page size and orientation. CorelDRAW allows you to choose from a range of predefined sizes or create a custom size to match your project requirements.
- Set the resolution to 300 DPI (dots per inch) for standard print projects to ensure high-quality output.
Bleed and Margins:
- Add a bleed area to your document. This is usually an extra 1/8 inch (3mm) around the edges of your design. It ensures that there are no white borders when the design is trimmed to size.
- Set safe margins within your design to ensure that no critical elements are cut off during trimming.
Convert Text to Curves:
- To avoid font issues, convert your text to curves before sending your file to print. This step ensures that your text appears exactly as you designed it, regardless of the fonts installed on the printer’s system.
Embed or Link Images Properly:
- Ensure that all images used in your design are either embedded or linked correctly. Embedded images are part of the file, whereas linked images must be sent along with the CorelDRAW file to the printer.
Color Management and Resolution Settings
Accurate color management and resolution settings are vital to achieving the desired print quality. Here’s how to handle these aspects in CorelDRAW:
Color Modes:
- Set your document color mode to CMYK (Cyan, Magenta, Yellow, Black) rather than RGB (Red, Green, Blue). CMYK is the color mode used in printing, and setting this mode from the start will help you see colors more accurately.
- Use spot colors if you require specific brand colors. CorelDRAW supports Pantone color matching, ensuring consistency across different print jobs.
Color Profiles:
- Use ICC (International Color Consortium) profiles to manage color consistency. CorelDRAW allows you to assign specific color profiles to your document, which helps in maintaining color accuracy from screen to print.
- Soft proof your design by previewing how it will look when printed. CorelDRAW’s proofing feature can simulate the final print output on your screen, helping you make necessary adjustments beforehand.
Resolution Settings:
- Ensure all images and graphics in your design are at least 300 DPI. Lower resolution images may appear pixelated or blurry when printed.
- For large format prints, like banners or posters, a resolution of 150 DPI may suffice, as these are typically viewed from a distance.
Designing Brochures, Business Cards, and Flyers
Each print project has its own set of design considerations. Here’s how to tackle some common print design projects in CorelDRAW:
Brochures:
- Layout and Fold Types: Determine the type of fold (bi-fold, tri-fold, etc.) and create guides to help with the layout. Use CorelDRAW’s guidelines to ensure elements are aligned correctly.
- Content and Imagery: Balance text and images, ensuring that the brochure is not overcrowded. Use high-quality images and vector graphics for crisp and clear prints.
Business Cards:
- Standard Size and Bleed: Business cards typically have a standard size of 3.5 x 2 inches. Remember to include the bleed area to avoid any white borders.
- Essential Information: Include only the most important information: name, title, contact details, and logo. Less is more when it comes to business card design.
Flyers:
- Eye-Catching Design: Flyers should grab attention quickly. Use bold headlines, striking images, and a clear call to action.
- Readability: Ensure text is legible by using appropriate font sizes and styles. Avoid using too many different fonts, which can make the design look cluttered.
Conclusion
CorelDRAW is an exceptional tool for print design, offering robust features for creating professional-grade projects. By following these best practices for preparing files, managing colors, and setting resolutions, you can ensure that your designs are not only visually appealing but also print-ready. Whether you're designing brochures, business cards, or flyers, these guidelines will help you achieve the best possible print outcomes.
Happy designing!
Feel free to reach out if you have any questions or need further assistance with Dye Sublimation, or your artwork projects.


 29 years of The Professor


Leave a Comment