It’s ALL about Colour
Power Driver or ICC Colour Profile.
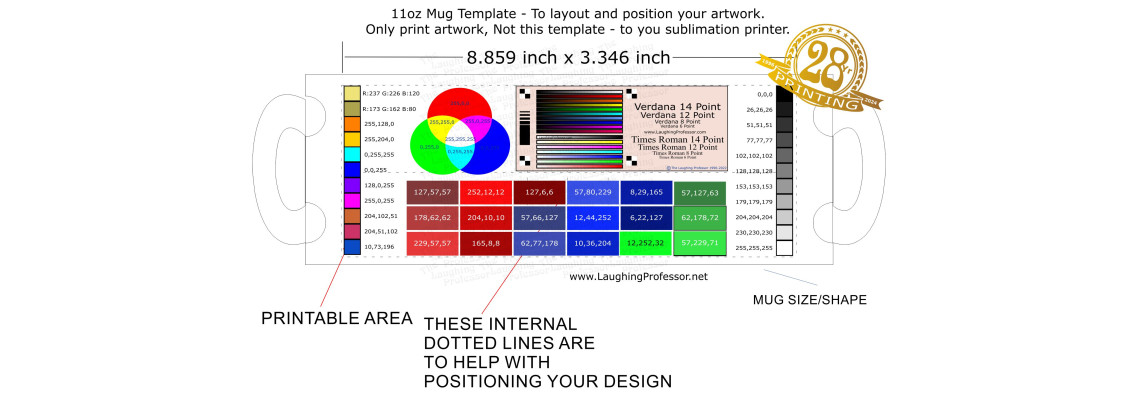
Whether you are using an Epson, or Ricoh / Virtuoso, you can use either if these. It is only a matter of which you are supplied with when purchasing you sublimation inks.
The brand if inks are matched to a particular model printer to create a colour correction file, that should be used by default when printing sublimation items. Ideally this file is available from the same distributor that supplied you with the sublimation inks.
 |
Wasting Substrates.
Avoid using more than one item in getting the correct settings (Time and Temperature) based on your setup. Your distributor should be able to provide you with initial settings, these are only meant as a starting point to guide you in finding what works best with the items and equipment that you have.
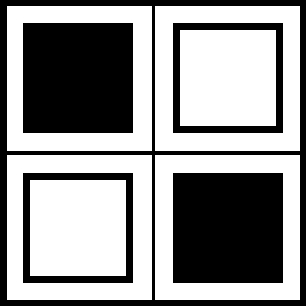
The idea is to setup the correct settings that gives you a nice jet black, once achieved, then the other colours will also be correct. By printing a small chequered pattern onto sublimation paper then heat pressing to the item one at a time using, first the time and temp settings provided. If the colour quality needs adjusting, heat press another of the same print to a different area of the same item with different settings. Repeat as many times as needed until you have a jet black, and make note of time/temp used for all future occasions that you print on this type of item. Repeat entire process for each type of substrate that you will be printing onto.
Now you have the perfect colour… is the outline of each square perfect, or blury? This is corrected by adjusting the pressure.
 |
Time and Temp Relationship.
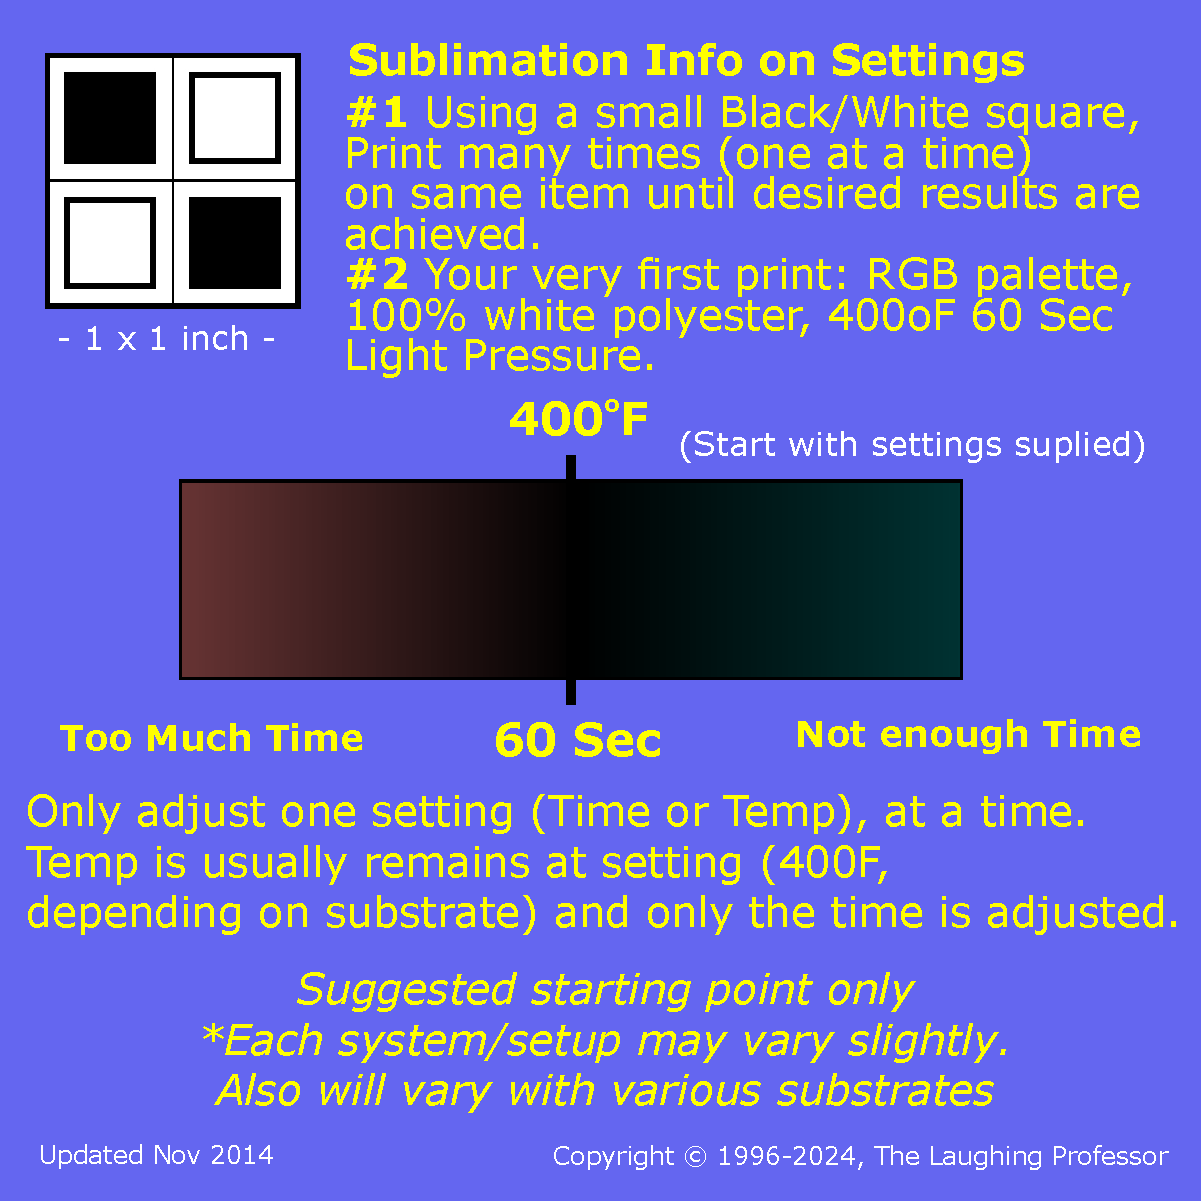
Sublimation is performed at a temperature of 400°F but different product types may require various times, due to the melting point of each type ie glass, ceramic, wood, plastic etc. IF UNSURE – Perform on a scrap/test item first. Not all items printed can manage with a temp of 400°F applied and this can be lowered to ≥340-350°F as needed.
Time and Temp are related to each other! If you increase the time, then temp must be lowered to produce the same result (decrease the temp – increase time). Therefore only time need be adjusted, once you have the suitable temp to work with.
Look and evaluate the black printed areas within your sublimated image… If you a getting a brown shade instead – Reduce the time used (If you a getting a green shade – increase the time).
 |
Sublimation – Not JUST for white.
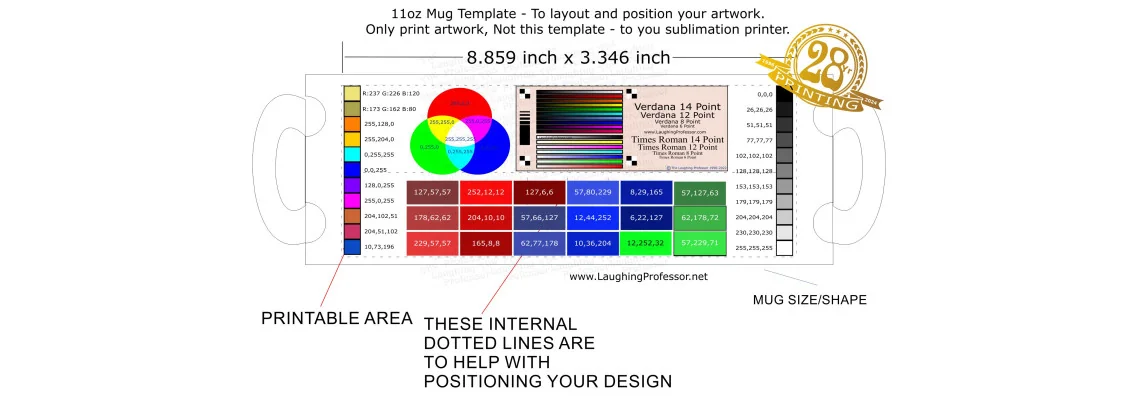
Any colour can be sublimated! However since sublimation is dyed into the item, the item colour will affect the printed result. If trying to sublimate a black Tee Shirt… Forget it! The shirt is black and so you will not be able to see any of the printed colours. Stick with light / pastel coloured items for your sublimation prints (sublimating onto subli-flock or glitter HTV can be used to put a design onto darker items of apparel). This can be better explained with this image printed onto coloured items, and to be shown to your customers in giving an example of how their gifts will turn out against colours. It is a good idea to include more shades of Reds, Blues and Golds in you rgb palette. This will also help you in selecting the correct shade when creating the artwork.

 30 years of #TheProfessor
 12% rewards for affiliate members

Leave a Comment