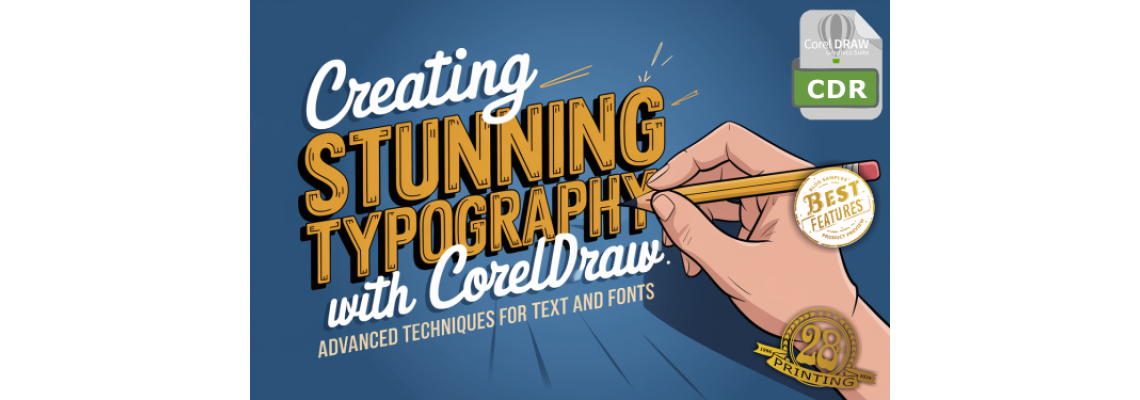
Typography plays a crucial role in design, communicating ideas through the creative use of text.
In CorelDRAW, a powerful design software, you have the flexibility to work with text and fonts in a variety of ways.
Whether you're creating logos, brochures, advertisements, or digital art, understanding how to create stunning typography can elevate your projects to the next level.In this blog, we'll explore the key aspects of working with text in CorelDRAW, delve into advanced text effects, and show you how to design custom typography. With these skills, you'll be able to create visually captivating text elements that enhance your overall design.
Table of Contents:
- Getting Started with Text in CorelDRAW
- Working with Fonts in CorelDRAW
- Advanced Text Effects and Manipulations
- Designing Custom Typography
- Conclusion
1. Getting Started with Text in CorelDRAW
CorelDRAW makes it easy to work with text, whether it's for simple paragraph text or more complex artistic text. To begin working with text, follow these steps:
Text Tool Selection: Open CorelDRAW and select the "Text Tool" from the toolbox. You can toggle between two types of text:
- Paragraph Text: Ideal for blocks of text like articles or brochures.
- Artistic Text: Perfect for short phrases, headlines, or decorative text elements.
Creating Text: Once you've selected the Text Tool, click anywhere on the canvas to begin typing. You can adjust font size, alignment, and spacing directly from the property bar.
Text Frames: If you're working with paragraph text, you can create a frame to constrain the text to specific dimensions. This is particularly useful for creating consistent layouts in multi-page documents.
Text Formatting Options: CorelDRAW offers extensive formatting options such as:
- Font family and size
- Bold, italic, underline styles
- Kerning, tracking, and leading adjustments
Object Linking: You can link text frames to ensure that any overflow text from one frame automatically continues into another. This is useful for multi-column layouts.
2. Working with Fonts in CorelDRAW
Fonts are the foundation of great typography. CorelDRAW supports all major font formats, including TrueType (TTF) and OpenType (OTF). Here’s how to manage and apply fonts effectively:
Choosing the Right Font: When working on a design project, selecting the right font is key. CorelDRAW gives you access to a wide range of fonts installed on your computer, as well as built-in font packs. When choosing fonts, keep these tips in mind:
- Use serif fonts for formal documents and print materials.
- Sans-serif fonts are best suited for digital use or modern, minimal designs.
- Script or decorative fonts are great for accents, but avoid overusing them in long texts.
Font Pairing: Effective typography often involves combining two or more fonts. CorelDRAW allows you to experiment with font pairings that complement each other. For instance, pairing a bold sans-serif header with a clean serif body text creates contrast and visual interest.
Font Importing: If you’re using custom or third-party fonts, you can easily import them into CorelDRAW by installing the font on your system and restarting the software. Once installed, these fonts will be available in the Text Tool's font dropdown menu.
OpenType Features: CorelDRAW fully supports OpenType features like ligatures, alternate characters, and swashes. These features give you even more creative control over your typography, allowing you to use special glyphs and character combinations that aren’t available in standard fonts.
3. Advanced Text Effects and Manipulations
Once you've mastered the basics, CorelDRAW provides powerful tools to enhance your text with advanced effects. Here are some techniques to make your typography stand out:
Text Contouring and Outlines: Adding a contour or outline to text can give it more dimension and make it pop. To do this, select your text and use the "Contour Tool" to create an outer or inner contour. Adjust the thickness and color to achieve the desired effect.
Text Fills and Gradients: You can apply various fills to your text, including solid colors, gradients, and textures. Using the "Interactive Fill Tool," apply gradients that give your typography a metallic, glass, or 3D appearance.
Text on a Path: CorelDRAW allows you to wrap text along any shape or curve. Select the text you want to manipulate, and use the "Text on Path" tool to align it to a curve or shape. This technique is perfect for circular logos or decorative text elements.
Extruding Text: The "Extrude Tool" can give text a three-dimensional look. Apply depth and perspective to make text elements appear to be coming off the page. Combine this with lighting and shading effects for an even more dynamic look.
Text Blending: The "Blend Tool" allows you to blend one piece of text into another, creating a gradient or morphing effect between the two. This is a useful technique for creating logos or headers that need a unique, flowing appearance.
4. Designing Custom Typography
For truly unique designs, you can create custom typography that sets your work apart. CorelDRAW offers several techniques for manipulating text into custom shapes and styles:
Node Editing for Text: Convert your text to curves by selecting it, right-clicking, and choosing "Convert to Curves." This allows you to edit the individual nodes of each letter, giving you full control over the shape and design. Use the "Shape Tool" to adjust the curves, angles, and proportions of each character.
Combining Text and Shapes: Create custom typography by combining text with shapes. Use the "Weld" and "Trim" functions to merge letters with geometric shapes or other objects, creating new and innovative designs.
Custom Hand-Drawn Lettering: If you want to create entirely original letterforms, use the "Bezier Tool" or "Freehand Tool" to draw custom lettering from scratch. Once you've sketched your letters, you can refine them with the node editing tools.
Text Effects with Blending and Transparency: Create custom effects by blending text with other design elements. Apply transparency to your text to create overlay effects, or use the "PowerClip" function to place images inside your text for an eye-catching effect.
5. Conclusion
Typography is an art form, and with CorelDRAW, you have a powerful toolset for creating stunning, custom text designs. Whether you're working with fonts, applying advanced effects, or crafting custom typography from scratch, mastering these techniques will help you produce high-quality, professional designs. The combination of flexibility, creativity, and precision offered by CorelDRAW makes it a top choice for anyone serious about design.
By following these tips and exploring the many features CorelDRAW has to offer, you can create typography that stands out and communicates your message in a visually captivating way.

 30 years of #TheProfessor
 12% rewards for affiliate members

Leave a Comment